Ingredients
-
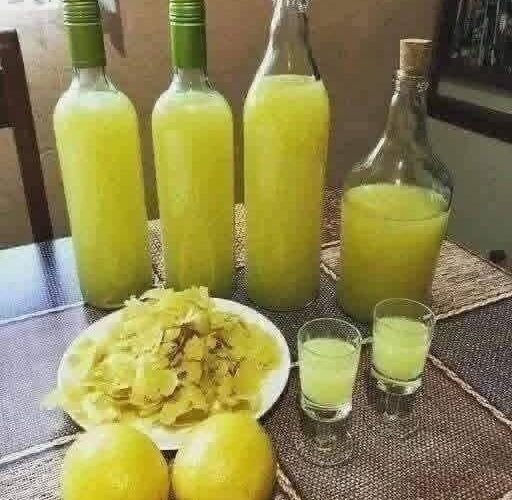
8–10 large, unwaxed lemons, preferably organic
-
750 ml high-proof neutral food-grade alcohol, ideally around 95% ABV
-
750 ml water
-
500 g granulated white sugar
If high-proof food-grade alcohol is not legally or practically available where you live, you can use plain vodka. However, because vodka is usually much lower in alcohol, the proportions and final strength will be different. Do not use industrial or denatured alcohol.
Step 1: Prepare the Lemons
Choose lemons that are fresh, fragrant, and preferably unwaxed. Since you will be using the peel, avoid lemons that have been treated with wax or other surface coatings when possible.
Wash the lemons thoroughly under cool running water. Scrub the surface gently to remove dirt and rinse them well. Dry them completely with a clean kitchen towel.
Now comes the most important part of the preparation: removing the zest.
Using a vegetable peeler, sharp paring knife, or fine zester, carefully remove the thin yellow outer skin. Try to collect only the yellow portion and leave the white layer underneath—the pith—on the lemon.
You do not need to remove every last bit of peel. The goal is simply to avoid taking large amounts of white pith.
Step 2: Infuse the Lemon Zest
Place all of the prepared lemon zest into a large, clean glass jar with a tight-fitting lid.
Pour in 750 ml of high-proof neutral food-grade alcohol. Make sure the zest is completely submerged. Seal the jar securely.
Place the jar somewhere cool and dark, away from direct sunlight and heat. A kitchen cupboard is ideal.
Allow the lemon zest to infuse for 7–14 days. During this period, the alcohol will gradually extract the essential oils and natural lemon aromas from the peel. The liquid should become noticeably yellow and strongly fragrant.
Once a day, gently swirl or shake the jar.
There is no need to leave the zest in the alcohol for months. A week or two is generally enough for a powerful lemon flavor. If the infusion becomes intensely aromatic earlier, you can proceed to the next stage.
Step 3: Prepare the Sugar Syrup
After the lemon infusion is ready, prepare the sweet syrup.
Add 750 ml of water and 500 g of granulated sugar to a saucepan. Heat over medium-low heat, stirring occasionally.
Continue warming until the sugar has completely dissolved and the liquid is clear. You do not need to boil the syrup vigorously. Once the sugar has dissolved, remove the saucepan from the heat.
Allow the syrup to cool completely to room temperature.
This step is important. Do not pour hot syrup directly into the alcohol. Letting it cool first helps preserve the fresh lemon aroma and makes the mixing process easier.
Step 4: Strain the Lemon Alcohol
When the infusion is ready, strain the alcohol to remove all of the lemon zest.
Place a fine-mesh strainer over a clean bowl or large measuring jug and carefully pour the infusion through it. For an exceptionally clear limoncello, you can strain it a second time through a coffee filter.
Do not squeeze the zest excessively if you want a particularly clear final liqueur. Small particles and oils can make the finished limoncello cloudy. Cloudiness is not necessarily a problem—it can actually indicate the presence of lemon oils—but filtering gives a cleaner appearance.
Step 5: Combine the Ingredients
Once the sugar syrup has cooled completely, slowly add it to the strained lemon-infused alcohol.
Stir gently until the liquids are thoroughly combined.
At this stage, the limoncello should have a beautiful golden-yellow color and a strong lemon fragrance. Taste a small amount if desired. If you prefer a sweeter limoncello, you can prepare a little additional sugar syrup and add it gradually.
Remember that the flavor will change somewhat as the limoncello rests.
Step 6: Bottle the Limoncello
Transfer the finished limoncello into clean glass bottles with secure lids or corks.
Glass bottles are preferable for long-term storage because they do not absorb flavors and are suitable for alcoholic beverages.
Seal the bottles and place them in the refrigerator or freezer.
Although you can drink homemade limoncello immediately, allowing it to rest for at least one week gives the alcohol, lemon oils, water, and sugar time to blend together. For an even smoother flavor, allow it to rest for 2–4 weeks.
How to Serve Limoncello
Limoncello is traditionally served very cold.
For the classic Italian experience, keep a bottle in the freezer and pour a small serving into a chilled liqueur or cordial glass. The cold temperature makes the liqueur especially refreshing and softens the sensation of the alcohol.
It is traditionally enjoyed after a meal as a digestif, but it can also be used in cocktails, desserts, cakes, sorbets, and other recipes.
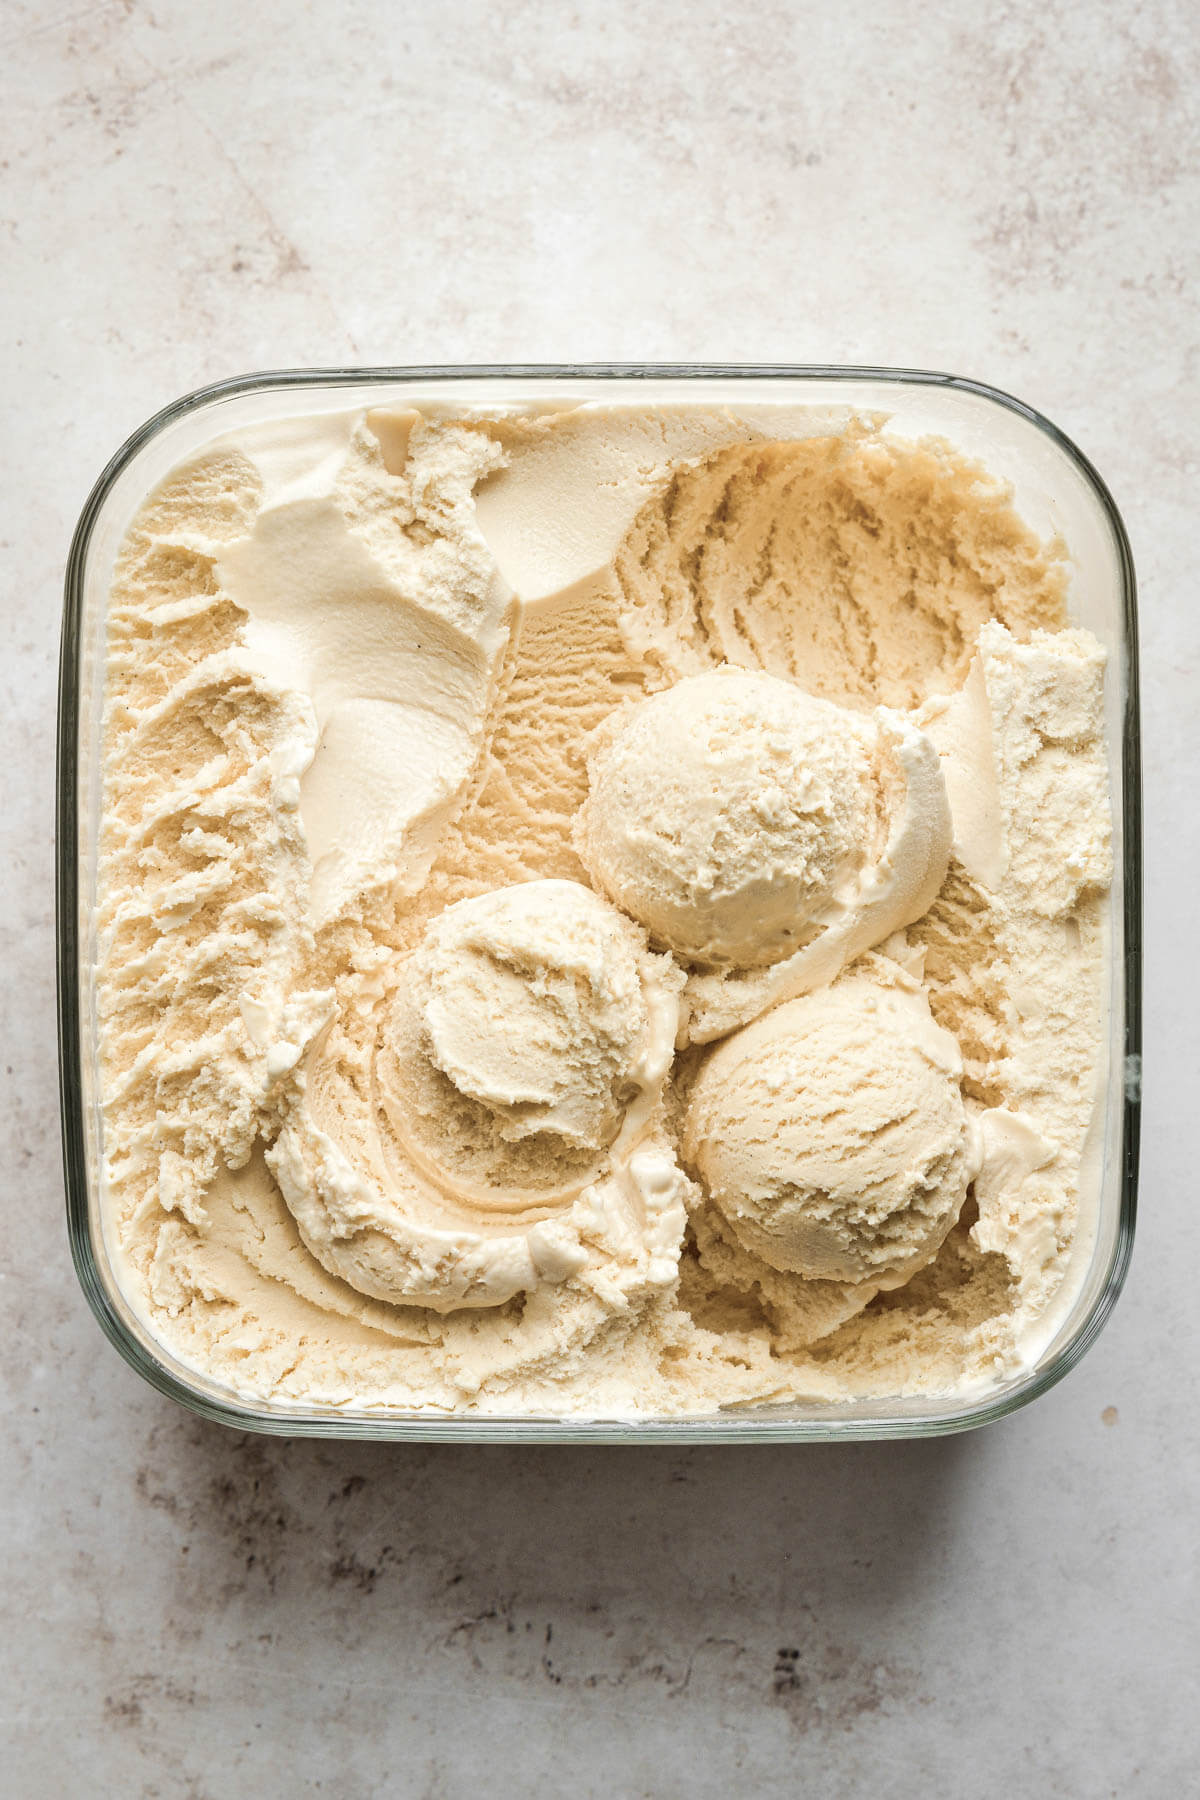
You can also drizzle a small amount over vanilla ice cream for a simple dessert with a bright lemon flavor.
Important Tips for the Best Homemade Limoncello
Use fragrant lemons. The quality of the lemons has a major effect on the finished drink. Choose lemons with strongly aromatic skins.
Avoid the white pith. This is perhaps the most important rule. Too much pith can make your limoncello noticeably bitter.
Use clean equipment. Wash and thoroughly dry your jar, strainer, bottles, and utensils before beginning.
Don’t rush the infusion. Give the lemon zest enough time to release its oils and aroma.
Let the syrup cool. Always cool the sugar syrup before combining it with the alcohol.
Adjust sweetness carefully. You can add more syrup, but once the limoncello becomes too sweet, it is difficult to correct.
Keep it cold. Limoncello is at its most refreshing when served chilled.
Storage
Because homemade limoncello contains alcohol and sugar, it keeps well when stored properly. Keep it tightly sealed and refrigerated or frozen. Always use clean bottles and utensils to minimize contamination.
If the appearance, smell, or flavor changes unusually, discard the batch rather than consuming it.
Final Result
This recipe produces a bright, intensely lemony, sweet Italian-style limoncello with a smooth finish. The preparation itself is simple, but the best results come from using excellent lemons and giving the infusion and finished liqueur enough time to develop.
The finished limoncello makes a wonderful after-dinner drink and can also make a thoughtful homemade gift. Pour it into attractive glass bottles, add a simple label, and keep it refrigerated until you’re ready to serve or share it.
The most important ingredients are therefore simple: fresh lemon zest, good-quality food-grade alcohol, sugar, water, and patience. With those basics and careful attention to the lemon zest, you can make a delicious homemade limoncello with a distinctly Italian character.